📅 Updated: July 2026 · Written by Tom · 12 min read
Best Truck Backup Cameras: Aftermarket Kits That Beat the Factory Option
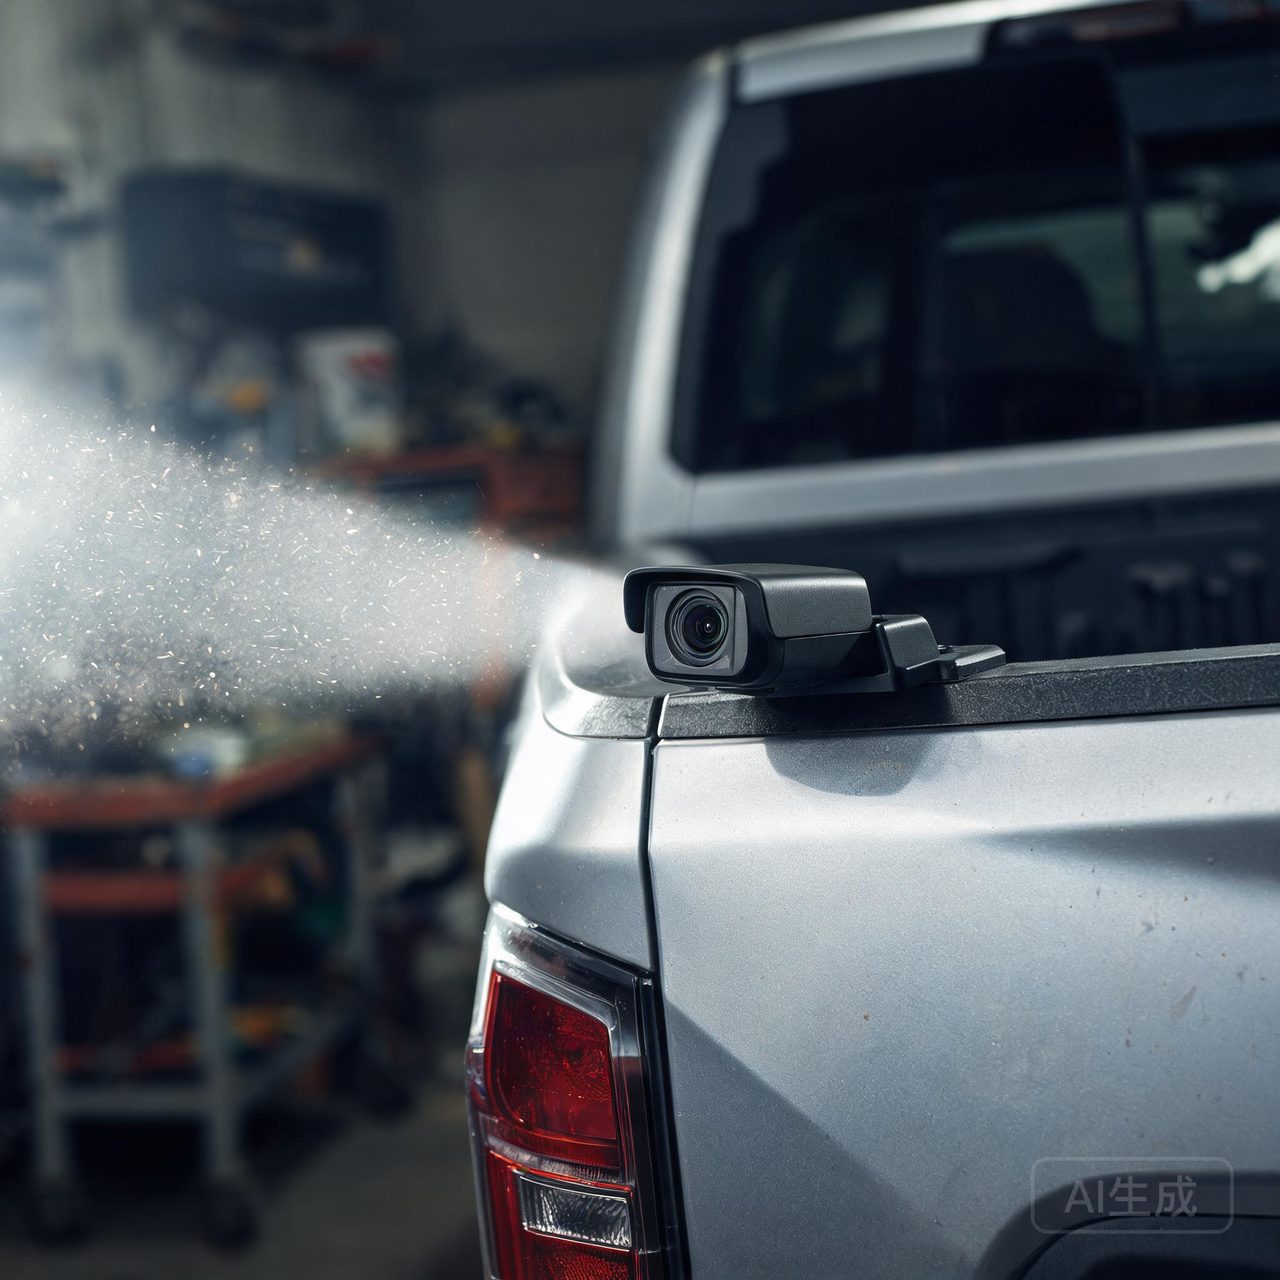
If your truck is older than 2018, chances are it doesn't have a backup camera — and even if it does, the factory one is probably garbage: fishbowl distortion, useless at night, no guidance lines that move. Aftermarket backup cameras have gotten cheap enough ($50–200) and good enough that replacing or adding one is a two-hour driveway job. I've installed four of them across my trucks and helped friends wire up half a dozen more. Here's what's worth buying.
The single most important thing to understand before you buy: the camera quality varies far more than the screen does. A $40 kit and a $150 kit often use the same 7-inch display, but the $150 camera actually sees at night.
📖 Contents
Three ways to add a camera
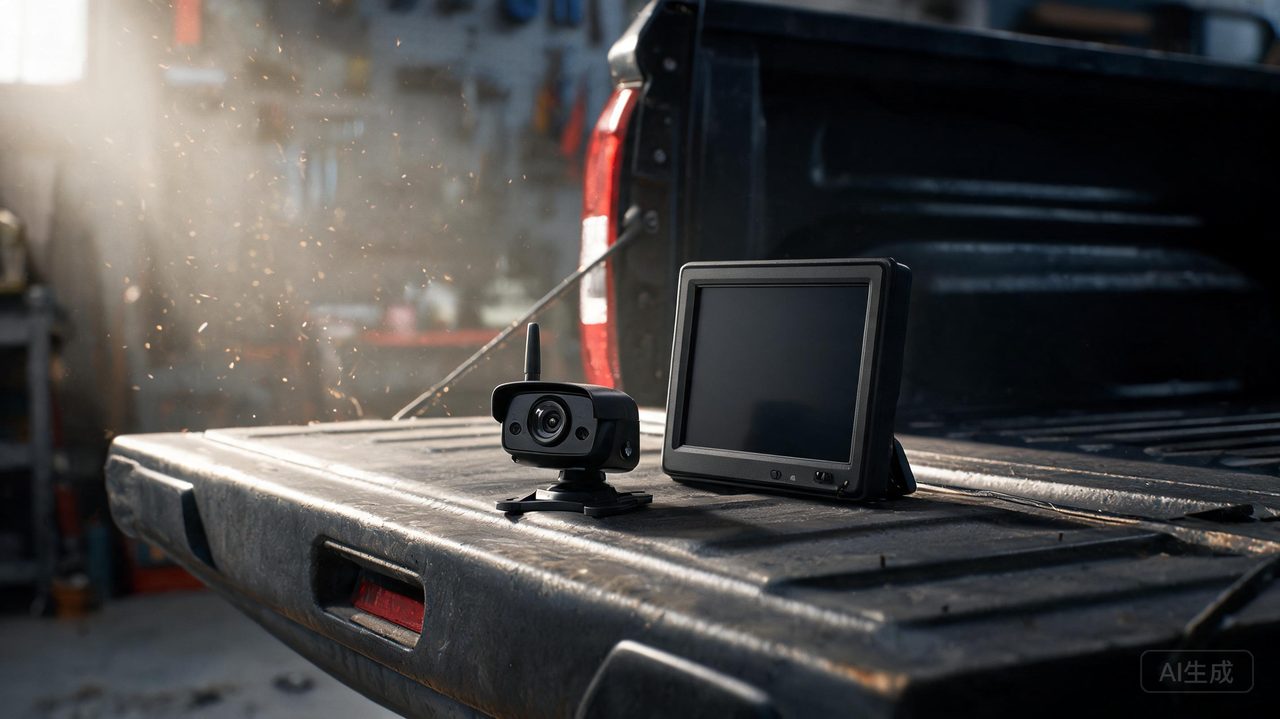
1. Wireless kit with a display ($50–120). Camera mounted at the license plate or tailgate handle, transmits to a small monitor that suction-cups to the windshield or clips over the rearview mirror. Easiest install — the camera usually gets power from the trailer wiring or reverse light, the monitor plugs into the cigarette lighter. The catch: wireless video can glitch or lag, and cheap transmitters share frequencies with other devices. Fine for daily use, not ideal if you're backing up to a trailer coupler regularly.
2. Wired kit with a display ($60–180). Same camera, but a video cable runs from the tailgate under the truck to the monitor. More work fishing the cable (30–60 minutes), but zero lag and zero interference. This is what I use now, after a wireless kit dropped signal mid-back-up to my boat trailer.
3. Integrated into an aftermarket head unit ($200–800 total). If you're replacing the factory stereo anyway (CarPlay/Android Auto units from Pioneer, Kenwood, Sony), add a camera input and the image appears on the big dash screen. Best-looking result, guidance lines can be factory-quality, but requires the head unit investment and dash disassembly.
How I pick a camera
- Night vision (the real differentiator): look for a Sony CCD or STARVIS sensor in the spec sheet. CMOS sensors at $40 are blind past 10 feet after dark; a STARVIS camera sees the full driveway lit by its own IR LEDs. If you ever back up at 5 AM for work or tow in the evening, this is non-negotiable.
- Viewing angle: 120–150 degrees is the sweet spot. Under 120 and you can't see curbs or kids on either side; over 170 and everything is distorted (the "objects in mirror" problem over the whole image).
- Mounting type: license-plate frame mounts are easiest (two bolts, done). Tailgate handle replacements look factory but require handle removal. The bezel/bracket style that bolts behind the bumper notch is most protected but needs drilling on some trucks.
- Guidance lines: static lines are fine; dynamic (moving) lines require a CAN bus connection or a separate steering sensor — most cheap kits that claim "dynamic" just mean lines you can toggle. If you tow, accurate distance markers matter more.
- Waterproof rating: IP68 or IP69K minimum. The camera lives outside, gets pressure-washed, sits in road salt for months. IP67 cameras fail in 1–2 winters; IP69K ones survive 5+ years.
The kits I'd actually buy
- Best overall — AUTO-VOX TW1 / CS-2 series ($90–130 wired). Decent Sony sensor, 150-degree view, true night performance, 7-inch anti-glare monitor. I put the CS-2 on the F-150 two years ago and it's survived two pressure-wash-heavy winters. Wired = no lag when I'm lining up the hitch.
- Best budget wireless — DoHonest S01 / V25 ($50–80). Easy plug-and-play, license plate mount, image quality is genuinely good in daylight and acceptable at night. The wireless delay is about 0.2 seconds — fine for parking, annoying for precision trailer work. Best entry point if you want a 45-minute install.
- Best for towing — Furrion Vision S ($150–250). Built for RV/trailer life: the camera mounts on the trailer (powered by the trailer marker lights) so you see behind the trailer, not just behind the truck. Wide-angle, excellent night vision, vibration-rated. If you tow anything bigger than a utility trailer, this changes the game. I have one on my boat trailer.
- Best factory-look — Tailgate handle camera + mirror display ($100–180, brand varies by truck: Master Tailgaters, ECOTRIC). Replaces the tailgate handle with an integrated camera; display clips over the factory mirror. Looks OEM, no dash clutter. Fitment is truck-specific, so buy by year/make/model.
- If you're getting a new head unit — Pioneer ND-BC8 or Kenwood CMOS-230 ($80–130). Reliable, good low-light, integrates cleanly with the head unit's on-screen guidance. Cheaper than buying a camera + separate monitor when the stereo is being replaced anyway.
Avoid the $25–35 no-name Amazon kits. I've had two fail: one filled with water after a month, the other's night vision was pure static. The sensor in them is usually a generic CMOS that can't resolve anything past 8 feet after dusk.
Installation: what the job involves
Plan 1–2.5 hours depending on type:
- Mount the camera — license plate frame is 10 minutes; tailgate handle replacement is 30–45 minutes (remove access panel, swap handle, route wire through the existing grommet).
- Power the camera — easiest is tapping the reverse light wiring (camera only turns on in reverse). Use T-tap connectors, not wire nuts. If you want the Furrion trailer camera, it ties into the trailer's running lights.
- Run the video cable (wired kits) — from the tailgate, along the frame rail with zip ties, through the firewall grommet near the steering column, up to the dash. Keep it away from the exhaust. This is the time-consuming part.
- Mount and power the display — suction cup on the windshield, mirror clip, or permanent dash bracket. Power from the 12V outlet (add-a-fuse for a clean look that turns off with ignition).
- Test before reassembling — put it in reverse, confirm the image, check the mirror image isn't flipped (most cameras have a toggle wire), then put panels back.
Wiring nightmares and how to avoid them
- Splices failing after a winter. Use heat-shrink crimp connectors or T-taps with dielectric grease. Scotch locks and electrical tape fail at exactly month 11.
- Image flicker from weak power. Tapping the reverse light on LED trucks sometimes causes a low-voltage flicker. A 12V relay fed by constant battery power (triggered by the reverse wire) fixes it.
- Wire pinched in the tailgate hinge. Route through the factory rubber conduit, not over the hinge. I've replaced one camera after the cable got severed there.
- Ground loops (rolling bars in the image). Ground the camera at the same point as the monitor, or add a ground loop isolator on the video line.
A backup camera isn't a luxury — NHTSA made them mandatory on new vehicles because they prevent backover incidents, and a good aftermarket kit gives old trucks the same safety for under $150. If you tow, pairing it with the Furrion trailer camera is the single biggest upgrade I've made to towing confidence. My towing capacity calculator handles the math for what you can haul; a good camera handles seeing where it's going.
Four camera installs and one severed cable later, I have opinions. One guy, three trucks, a lot of crimp connectors.